Ditch Store-Bought: Healthier, Palm-Oil Free Vegan Nutella Recipe
For many of us, the mere mention of "chocolate hazelnut spread" conjures up nostalgic memories of childhood breakfasts and late-night indulgence. That unmistakable creamy, dreamy combination is truly iconic. However, as we become more conscious about what we put into our bodies and the impact of our food choices, the ingredient list of conventional store-bought options can be a little jarring. High sugar content, milk powder, and perhaps most controversially, palm oil, often top the list.
But what if you could recreate that beloved flavor, only better? What if it was dairy-free, vegan, refined sugar-free, and completely palm oil-free? The good news is, you absolutely can! Learning how to make easy homemade vegan Nutella is not only incredibly satisfying but also surprisingly simple. With just a handful of natural ingredients and about 30 minutes of your time, you can whip up a jar of rich, chocolatey goodness that is undeniably healthier and just as addictive.
This isn't just about avoiding undesirable ingredients; it's about embracing wholesome, natural foods and enjoying a superior taste. After extensive recipe testing and fine-tuning, we've cracked the code to what we believe is the ultimate refined sugar-free vegan Nutella. Get ready to transform your breakfast, snacks, and desserts with this incredible spread!
Why Ditch Store-Bought Nutella? Understanding the Ingredients
The allure of store-bought chocolate hazelnut spread is strong, but a closer look at its composition often reveals ingredients many health-conscious individuals aim to reduce or avoid. The most prominent concerns typically revolve around:
- Excessive Sugar: Commercial versions are notoriously high in sugar, often listing it as the primary ingredient. While delicious, such high sugar intake contributes to various health issues and energy crashes.
- Dairy Content: Many popular spreads contain milk powder, making them unsuitable for those with dairy allergies, lactose intolerance, or who follow a vegan lifestyle.
- Palm Oil: This ingredient is a major point of contention. From a health perspective, palm oil is high in saturated fat. Environmentally, the unsustainable production of palm oil is linked to deforestation, habitat destruction (especially for endangered species like orangutans), and significant greenhouse gas emissions. For many, choosing products free of palm oil is a crucial ethical stance.
- Artificial Flavors and Preservatives: While not always present, some commercial spreads may include these to extend shelf life or enhance flavor, adding to the list of ingredients you might prefer to avoid.
By opting for a diy homemade vegan nutella, you take complete control. You eliminate the milk powder, wave goodbye to palm oil, and swap out refined sugars for natural, wholesome sweeteners like maple syrup. This transformation makes your homemade version not just a treat, but a far healthier and more ethical choice you can feel good about. It's a genuine upgrade, offering a pure, unadulterated chocolate-hazelnut experience that frankly, tastes even better.
The Magic Behind Your DIY Homemade Vegan Nutella: Just 5 Core Ingredients
The beauty of this recipe lies in its simplicity and the quality of its natural components. You won't find a long, complicated list here, just five stars that work in harmony to create culinary magic. Here’s what you’ll need:
- Hazelnuts: These are the undisputed heroes of our spread, providing that signature nutty flavor and a rich, creamy base when blended. Roasting them correctly is key to unlocking their full potential and making them easier to process.
- Maple Syrup: Our natural sweetener of choice. Maple syrup offers a lovely depth of flavor and ensures this spread remains entirely refined sugar-free. You can adjust the amount to suit your personal sweetness preference.
- Cacao Powder: For that intense, decadent chocolate flavor. Cacao powder is less processed than cocoa powder and retains more antioxidants, though good quality cocoa powder can also be used if that’s what you have on hand. It's what gives our spread its irresistible dark hue and rich taste.
- Coconut Oil: A touch of melted coconut oil contributes to the spread's luxurious, silky texture, helping it become wonderfully smooth and easily spreadable. It also adds a subtle richness that complements the other flavors beautifully.
- Vanilla Extract: Just a dash of pure vanilla extract elevates the overall flavor profile, adding warmth and enhancing the chocolate and hazelnut notes.
- A Pinch of Salt: Don't underestimate the power of salt! A small pinch balances the sweetness, deepens the chocolate flavor, and brightens all the other ingredients, making the spread truly sing.
These natural ingredients ensure that your diy homemade vegan nutella is not only incredibly delicious but also dairy-free, gluten-free, and suitable for various dietary preferences, including Paleo and vegan. It's a testament to how simple, whole foods can create something truly extraordinary.
Unveiling the Simple Process: How to Make Your Own Vegan Nutella
Making your own chocolate hazelnut spread might sound intimidating, but it's remarkably straightforward. The process is essentially a few easy steps, largely revolving around roasting and blending. Here’s a detailed breakdown:
1. Roasting the Hazelnuts: The Foundation of Flavor
This is a crucial first step that brings out the nuts' inherent oils and deepens their flavor, making them easier to blend into a smooth butter. Spread your raw hazelnuts in a single layer on a baking sheet. Roast them in a preheated oven at 160°C/320°F (fan-assisted) for 8-10 minutes. Keep a close eye on them to prevent burning; you're looking for a fragrant aroma and slightly darkened appearance.
2. Removing the Skins: For a Silky Smooth Finish
Once roasted, the hazelnut skins become brittle and easier to remove. While you can let them cool slightly, I often find it effective to work with them while still warm. Pour the warm hazelnuts onto a clean kitchen towel. Gather the corners of the towel to form a pouch and rub them vigorously between your hands. This friction helps loosen and remove the papery skins. Don't worry if a few stubborn skins remain; your spread will still taste fantastic, though it might be slightly less silky. For those aiming for ultimate smoothness, some even use a hairdryer on a cool setting to blow away loose skins!
3. Blending into Butter: Patience is Key
Transfer the skinned hazelnuts into a high-powered food processor. This is where the magic happens, but it requires a bit of patience. Begin blending. The hazelnuts will go through several stages:
- First, they'll turn into a coarse meal.
- Then, they’ll become a thicker, pasty consistency.
- Eventually, their natural oils will release, transforming them into a gloriously smooth, runny hazelnut butter.
This process can take anywhere from 5 to 15 minutes, depending on your food processor. Be sure to stop and scrape down the sides of the bowl frequently to ensure even blending.
4. Adding the Remaining Ingredients: Finishing Touches
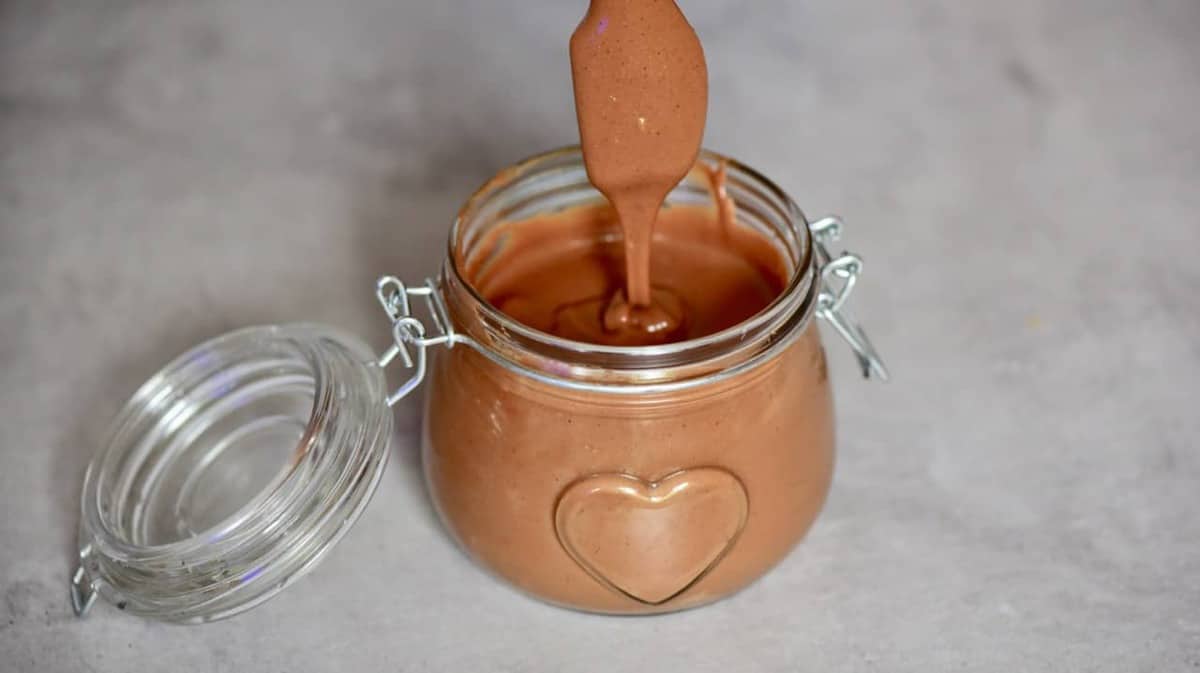
Once you have a silky-smooth hazelnut butter, it’s time to incorporate the rest of the flavors. Add the maple syrup, cacao powder, melted coconut oil, vanilla extract, and a pinch of salt to the food processor. Continue blending until all ingredients are thoroughly combined and the mixture is perfectly smooth and creamy. Taste and adjust for sweetness or chocolate intensity if desired. Voila! You've just created your very own diy homemade vegan nutella.
Tips for the Perfect Batch of DIY Homemade Vegan Nutella
Achieving that ideal creamy, dreamy consistency and flavor is all about technique and a few helpful tricks:
- Invest in a Good Food Processor: While a blender can work, a powerful food processor is truly your best friend for making nut butters. Its wider base and S-blade are designed to handle the friction needed to break down nuts into a smooth paste.
- Don't Rush the Blending: As mentioned, blending takes time. If you try to stop too early, your spread will be gritty. Keep blending until it’s perfectly fluid and smooth. If your food processor gets warm, take short breaks to prevent overheating.
- Taste and Adjust: This is your spread! Once all ingredients are blended, taste a small spoonful. Does it need more sweetness? A little more chocolate kick? Don't hesitate to add a touch more maple syrup or cacao powder and blend again until it's just right for your palate. A tiny bit more salt can also surprisingly enhance the chocolate flavor.
- For Extra Creaminess: If your spread feels a little too thick, you can add another teaspoon or two of melted coconut oil, or even a splash of plant-based milk (like almond or oat milk) during the final blending stage to reach your desired consistency.
- Storage: Transfer your homemade vegan Nutella to a clean, airtight jar. It can be stored at room temperature for up to a week, or in the refrigerator for up to 2-3 weeks. Chilling might make it slightly firmer, so let it sit out for a few minutes before spreading, or gently warm it in a microwave for a few seconds.
- Experiment with Flavors: Feel free to get creative! Add a pinch of espresso powder for a deeper mocha note, a tiny dash of cayenne pepper for a subtle warming spice, or even a few drops of orange extract for a citrusy twist.
This recipe provides a fantastic foundation for endless possibilities, ensuring your pantry staple is always fresh, delicious, and tailored to your preferences.
Conclusion
Say goodbye to the guilt and questionable ingredients of store-bought spreads, and hello to a healthier, more delicious alternative. This diy homemade vegan nutella recipe empowers you to create a truly superior chocolate hazelnut spread that is dairy-free, refined sugar-free, palm oil-free, and bursting with natural flavor. It's incredibly easy to make, highly customizable, and offers all the rich, chocolatey satisfaction you crave without compromise. So, gather your simple ingredients, fire up your food processor, and prepare to fall in love with your new favorite homemade treat. Your taste buds—and your conscience—will thank you!
