The Irresistible Allure of Homemade Vegan Nutella: 5 Ingredients, 30 Minutes, Sugar-Free
Few spreads evoke the same nostalgic delight as chocolate hazelnut butter. That creamy, sweet, utterly addictive combination has graced breakfast tables and snack times for generations. But what if you could recreate that magic in your own kitchen, transforming it into a healthier, refined sugar-free, and completely vegan treat? Imagine a spread so rich and flavorful, yet made with just 5 ingredients, requiring only 30 minutes of your time, and entirely free from processed sugars, dairy, and palm oil. Welcome to the world of Ditch Store-Bought: Healthier, Palm-Oil Free Vegan Nutella Recipe!
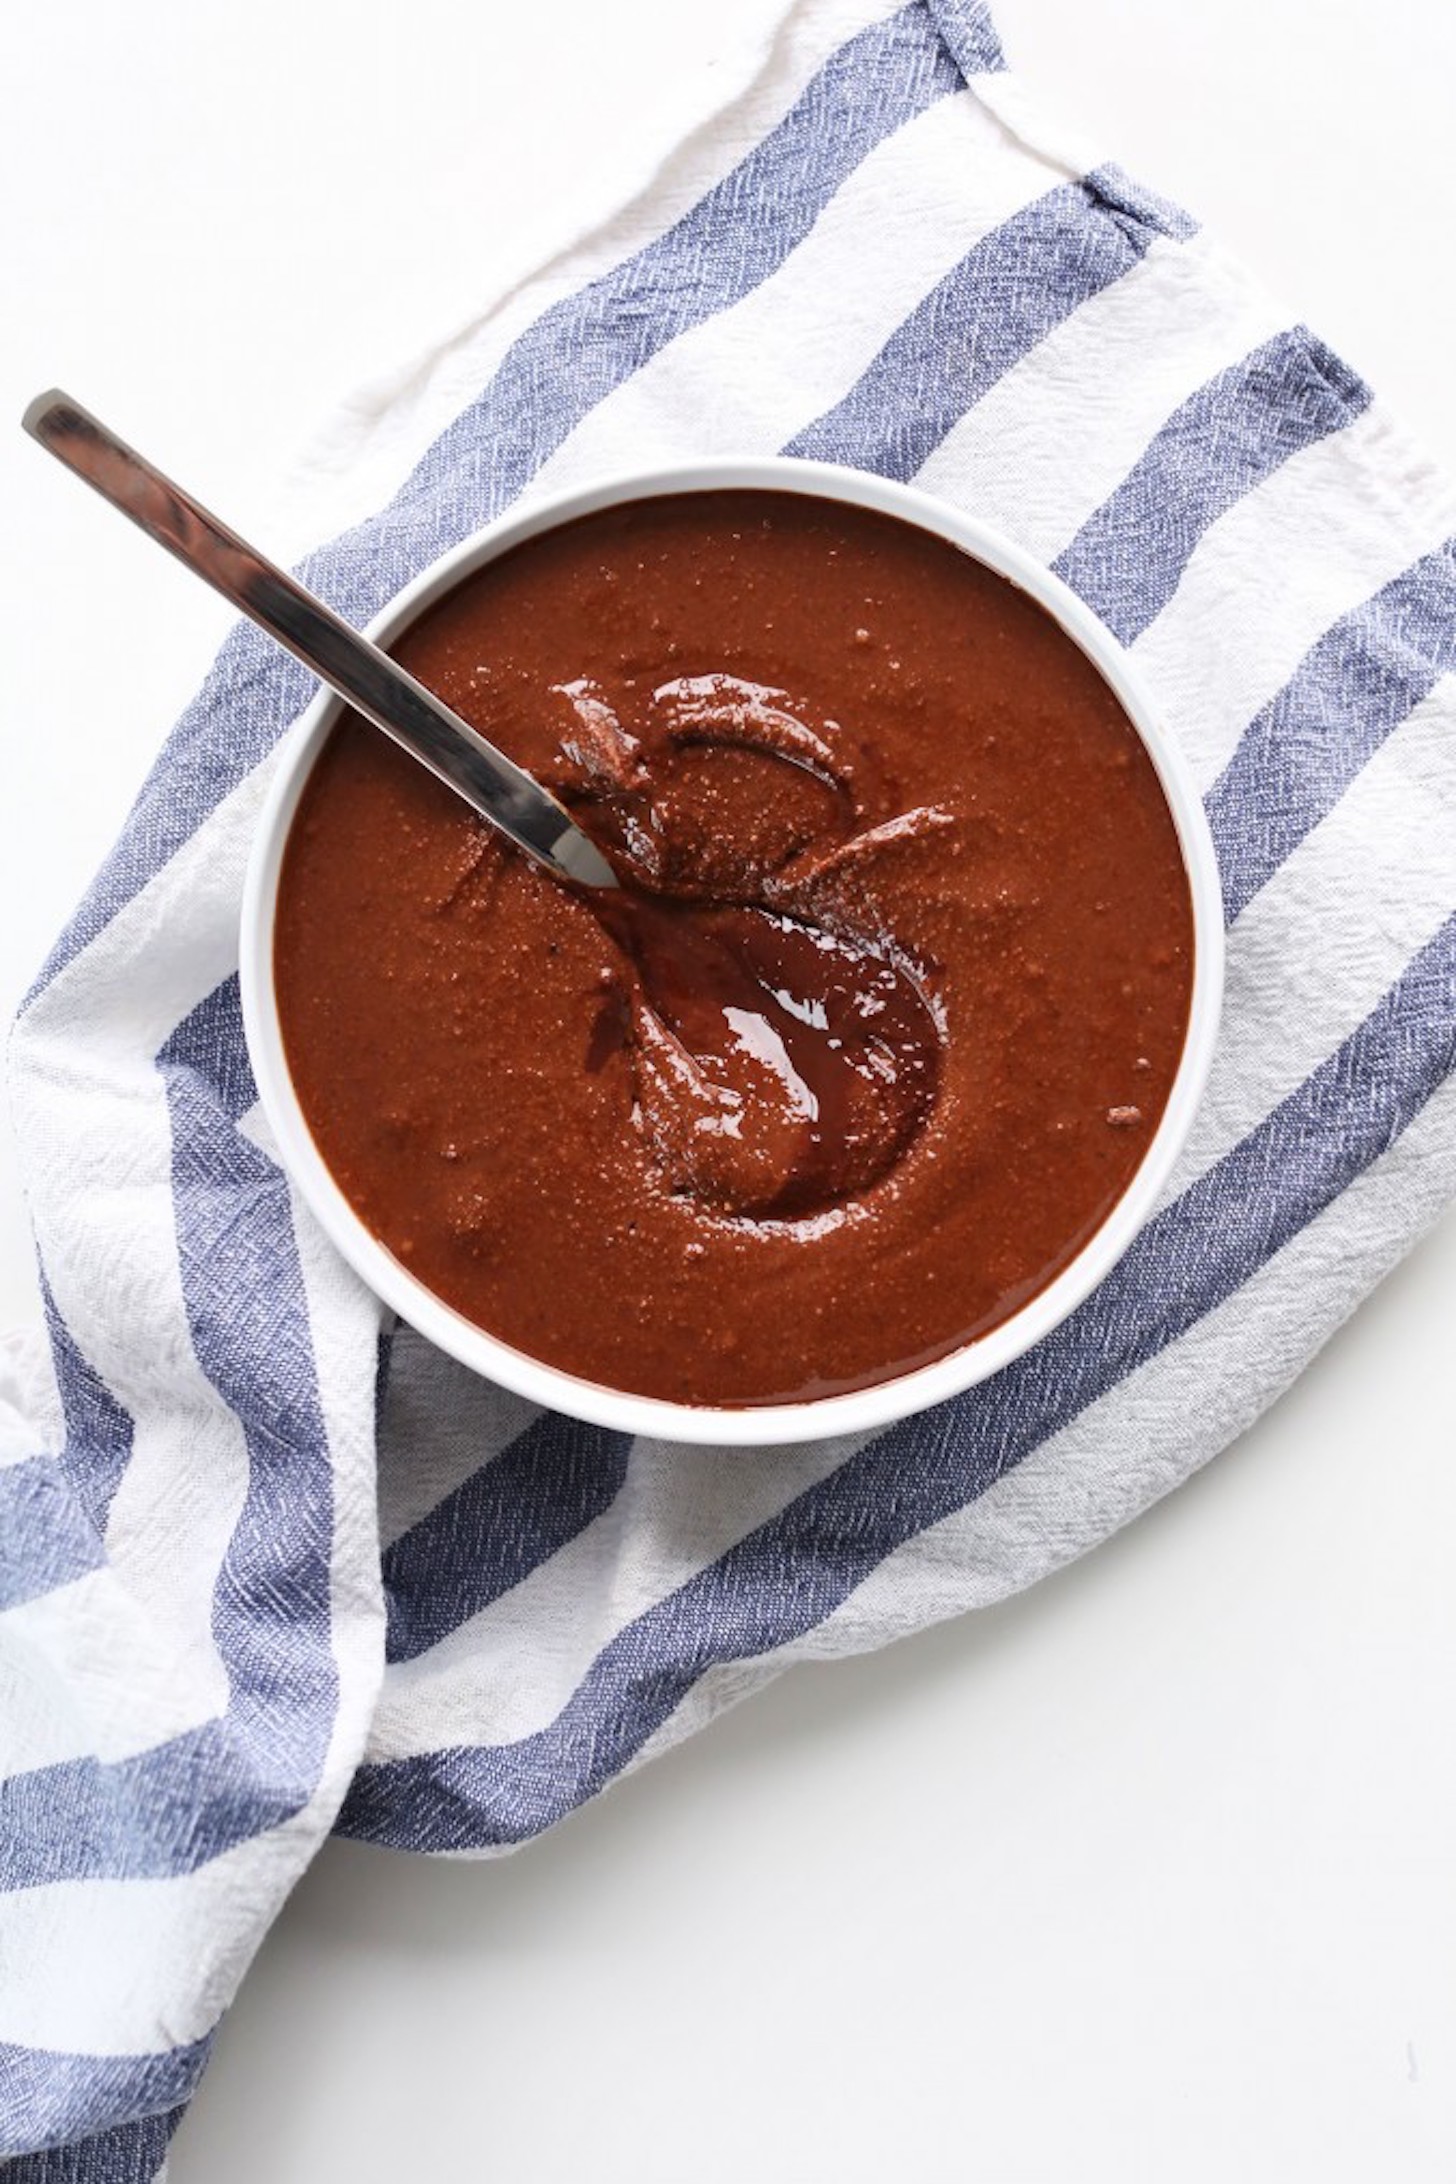
After much experimentation and a fair share of taste tests (the best kind of research!), we've perfected a recipe for The Best Refined Sugar-Free Vegan Nutella: Simple DIY Steps that we are thrilled to share. This isn't just a chocolate hazelnut spread; it's a truly homemade vegan Nutella experience – deeply chocolatey, wonderfully creamy, and undeniably habit-forming. The best part? Every single ingredient is natural, wholesome, and contributes to a spread that truly satisfies without any guilt.
Why Go DIY? Unpacking the Benefits of Your Own Vegan Nutella
For many of us, the commercial version of chocolate hazelnut spread holds a special place in our hearts from childhood. However, a quick look at its ingredient list often reveals some less-than-desirable components. High sugar content, milk powder (making it non-vegan), and the controversial use of palm oil are common culprits. While we're not claiming this diy homemade vegan nutella is a health food in the strict sense – because, let's be real, it's still an indulgent treat – it is unequivocally a much, much healthier alternative.
By opting to make your own homemade vegan Nutella, you gain complete control over what goes into your jar. Say goodbye to refined sugars; we're using natural sweeteners. Dairy-free is a given, making it perfect for vegans and those with lactose intolerance. And crucially, it's 100% palm oil-free, addressing significant environmental and ethical concerns associated with its production. This means you can slather it on toast, dip fruit into it, or even enjoy it straight from the spoon with a clear conscience, knowing you're nourishing your body with quality ingredients and avoiding unnecessary additives.
This recipe is also incredibly versatile and caters to various dietary needs. It's naturally gluten-free, dairy-free, and fits within a Paleo framework, provided you use maple syrup as your sweetener. It's truly a spread designed for everyone to enjoy the rich, chocolatey goodness without compromise.
Your 5-Ingredient Lineup for Sugar-Free Perfection
The magic of this diy homemade vegan nutella lies in its simplicity. With just five core ingredients, each playing a crucial role, you can achieve a depth of flavor and a creamy texture that rivals any store-bought version. Here's what you'll need:
- Hazelnuts: The star of the show! They provide the signature nutty flavor and a rich, buttery base once blended.
- Maple Syrup: Our natural, refined sugar-free sweetener. Its subtle caramel notes beautifully complement the chocolate and hazelnut.
- Cacao Powder (or Cocoa Powder): For that intense chocolatey punch. Cacao powder is raw and richer in antioxidants, while standard unsweetened cocoa powder works perfectly too.
- Coconut Oil: This helps achieve that irresistible silky-smooth texture and adds a lovely richness.
- Vanilla Extract: A touch of vanilla enhances all the other flavors, adding warmth and depth to the spread.
- Pinch of Salt: Don't skip this! A small pinch of salt is a secret weapon in chocolate recipes, helping to balance the sweetness and deepen the chocolate flavor.
Step-by-Step Guide: Crafting Your Vegan Nutella in 30 Minutes
The process of making this easy homemade vegan nutella is surprisingly straightforward, essentially following the steps of making any nut butter with an extra chocolatey flourish. Here's how you'll transform those simple ingredients into a gourmet spread in under half an hour:
Roasting for Flavor and Ease
The first crucial step is roasting your hazelnuts. This isn't just about cooking them; it's about unlocking their full potential. Roasting intensifies their nutty flavor and, importantly, helps to loosen their skins, making them much easier to remove later. It also encourages the nuts to release their natural oils, which is key for achieving a super-smooth butter.
To roast, spread your hazelnuts in a single layer on a baking sheet. Place them in a preheated oven at 160ºC (320ºF) for about 8-10 minutes. Keep a close eye on them; you want them lightly toasted, not burnt. You'll know they're ready when they smell fragrant and their skins start to look slightly cracked.
The Great Skin Debate: To Remove or Not to Remove?
Once your hazelnuts are out of the oven, it's time to tackle the skins. While not strictly mandatory for taste, removing most of the skins is essential if you want that truly silky, professional-grade smooth texture for your diy homemade vegan nutella. Hazenut skins can add a slightly bitter note and a grittier texture if left on.
The easiest method is to let them cool slightly (they'll be hot!) and then immediately pour them onto a clean kitchen towel. Gather the corners of the towel to create a pouch and rub the hazelnuts vigorously within the towel. The friction will cause most of the skins to flake off. Don't worry if a few stubborn bits remain; it won't ruin your spread. Some people even use a hairdryer for a quick and thorough skin removal, though the towel method is often sufficient for home cooks.
Blending to Silky Smoothness
This is where the magic happens! Transfer your peeled (or mostly peeled) hazelnuts into a high-speed blender or food processor. Begin blending. At first, the hazelnuts will turn into a coarse meal, then a sticky clump, and finally, as their oils are released, they will transform into a creamy, luscious nut butter. This process takes patience – typically 5-10 minutes, depending on your appliance. You'll need to stop occasionally to scrape down the sides of the bowl to ensure everything is evenly processed.
Keep blending until the hazelnut butter is as smooth and pourable as you desire. The longer you blend, the creamier it will become.
The Final Flourish: Adding Flavor & Sweetness
Once your hazelnut butter has reached peak smoothness, it's time to add the remaining ingredients. Add the maple syrup, cacao (or cocoa) powder, melted coconut oil, vanilla extract, and that crucial pinch of salt to the blender. Blend again until all the ingredients are thoroughly combined, and the spread is uniformly chocolatey and smooth. Give it a taste and adjust the sweetness or chocolate intensity if desired. If it's too thick, you can add a tiny bit more melted coconut oil or a tablespoon of plant-based milk until it reaches your preferred consistency.
Tips, Tricks, and Creative Ways to Enjoy Your Spread
Now that you've mastered the art of making diy homemade vegan nutella, the possibilities are endless! Here are some practical tips and delicious ideas:
- Storage: Store your homemade spread in an airtight jar in the refrigerator for up to 2-3 weeks. Due to the coconut oil, it will firm up when cold. Simply let it sit at room temperature for a bit before serving, or gently warm it in a microwave safe bowl for a few seconds if you want a more pourable consistency.
- Troubleshooting Thickness: If your spread is too thick after blending, add a tiny bit more melted coconut oil or even a tablespoon of plant-based milk (like almond or soy milk) and blend again until smooth.
- Flavor Variations: Feel free to experiment! A pinch of chili powder can add a spicy kick, a dash of orange zest offers a citrusy brightness, or even a shot of espresso powder for a mocha-flavored spread.
- Serving Suggestions:
- Spread it on toast, pancakes, waffles, or crepes.
- Use it as a dip for fresh fruit like strawberries, bananas, or apple slices.
- Swirl it into oatmeal or yogurt for a decadent breakfast.
- Fill pastries, tarts, or homemade cookies with it.
- Blend it into smoothies for a chocolate-nutty boost.
- Drizzle over ice cream or use as a topping for desserts.
- And, of course, enjoy it straight off the spoon – we won't tell!
Making your own chocolate hazelnut spread is a rewarding experience that puts you in control of what you eat. This diy homemade vegan nutella is not only incredibly delicious but also offers a healthier, more ethical alternative to store-bought options. With just a few simple ingredients and a little bit of time, you can whip up a jar of pure indulgence that you'll be proud to share (or keep all to yourself!). Enjoy the rich, creamy, and guilt-free pleasure of your very own homemade creation!
